

Hey! Want to turn your love for custom t-shirts into a real business right from your home? Using a DTG printer makes it possible without needing a big factory or lots of money upfront. DTG stands for Direct to Garment. It prints your designs straight onto the fabric like a regular inkjet printer prints on paper. In this guide, I’ll walk you through every step in simple words. You’ll learn what you need, how to set it up, and how to actually make money. Let’s get started.
What Is DTG Printing and Why Is It Good for Home Businesses?
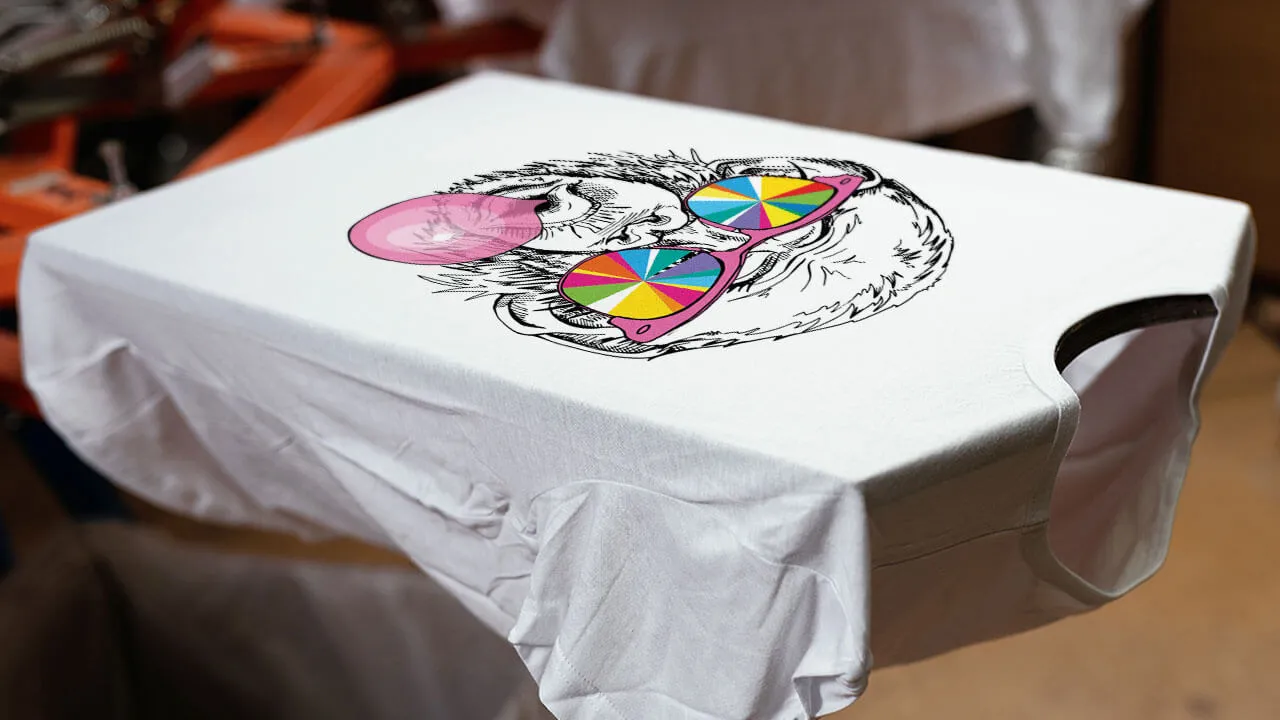
DTG printing sprays special textile ink directly onto t-shirts, hoodies, or tote bags. The printer uses CMYK plus white ink so the colors look bright even on dark clothes. After printing, you cure the ink with heat so it stays on the fabric through many washes.
This method is perfect for beginners because you can print one shirt at a time. No need to order hundreds of pieces like with screen printing. You design on your computer, hit print, and a few minutes later you have a finished product. It’s great for small runs, personal gifts, or building your own brand.
Many people start at home because the equipment doesn’t take up too much space and the startup cost is lower than opening a shop. You control everything – design, printing, and shipping. Plus, customers today love unique, made-to-order clothes. That means good profit potential if you do it right.
Step 1: Plan Your Business Idea
Before you buy anything, decide what kind of custom clothing you want to sell. Will you focus on funny t-shirts, sports teams, wedding party shirts, or your own clothing line? Think about who your customers are. Maybe friends, local groups, or people online who like niche designs.
Write down your goals. How many shirts do you want to sell each month in the beginning? Set realistic prices – usually between $15 and $35 per shirt after costs. Check what similar sellers charge on Etsy, Shopify, or social media.
Also, pick a business name and check if the domain is available. Decide if you will sell only online or also at local markets. A simple plan on paper helps you stay focused and avoid wasting money.
Step 2: Choose the Right DTG Printer for Your Home Setup
The printer is the most important tool. For home use, look for a compact model that is easy to operate and doesn’t make too much noise. You want good print quality, reliable white ink, and simple maintenance.
Many beginners do well with entry-level or mid-range DTG printers. They print A3 or A4 size designs, which covers most t-shirt needs. Pay attention to how easy it is to clean the print heads because white ink can clog if you don’t use the printer often.
If you are just starting, read guides that compare options made for small operations. One helpful resource is this article about the best DTG printer for small business. It shows clear pros and cons so you can pick what fits your budget and space.
Expect to spend between $2,000 and $8,000 for a decent home DTG printer. Cheaper models may need more repairs later. Also buy a good heat press or curing oven to set the ink properly.
Step 3: Set Up Your Home Workspace
You don’t need a huge room. A clean, well-lit corner or spare bedroom works fine. Make sure you have:
- A sturdy table for the printer
- Good ventilation because inks and pretreat solution have some smell
- Space for a heat press and drying area
- Storage for blank shirts, inks, and finished orders
Keep the area dust-free because dust can ruin prints. A small dehumidifier helps in humid climates. Plug everything into surge protectors. Organize your workflow so you move smoothly from computer to printer to heat press.
Many people start with less than 100 square feet of space. As you grow, you can expand later.
Step 4: Get the Right Supplies and Materials
Besides the printer, you need:
- Pretreatment solution (makes ink stick to the fabric)
- Quality blank garments in different sizes and colors
- DTG inks (CMYK + White)
- Rip software to prepare your designs for printing
- Heat transfer paper or curing equipment
Buy blanks from trusted suppliers so the fabric feels soft and prints well. Start with 50 to 100 shirts in popular sizes. Test different brands to see which ones give the best results with your printer.
Also get packaging materials like poly mailers and thank-you cards. Good presentation makes customers come back.
Step 5: Learn the DTG Printing Process Step by Step
Here’s how it works in practice:
- Design your image on the computer using free or paid software like Photoshop or Canva.
- Pretreat the shirt in the area you will print.
- Load the shirt onto the printer platen carefully.
- Send the design from the RIP software to the printer.
- Let the printer do its job – it usually takes a few minutes per shirt.
- Cure the print with heat press at the right temperature and time (usually 320°F for 30-60 seconds).
- Let it cool and check the quality.
Practice on a few old shirts first. You will make mistakes at the beginning – that’s normal. Watch tutorial videos and take notes. After 20-30 prints, you will feel much more confident.
Step 6: Create and Sell Your Designs
Good designs sell the product. Focus on trends, humor, hobbies, or local pride. Use free tools to make simple designs or hire a freelancer for more complex ones.
Set up your online store. Shopify or Etsy are easy for beginners. Take clear photos of your shirts on models or flat lays. Write friendly descriptions that tell customers why your shirts are special.
Promote on social media. Post daily on Instagram, TikTok, or Facebook. Show the printing process – people love behind-the-scenes videos. Offer discounts for first orders or bundles.
Start by selling to friends and family to get reviews. Then expand to online marketplaces.
Step 7: Handle Orders and Shipping from Home
When an order comes in, print the shirt the same day or next day. This fast service makes customers happy. Package neatly and add a personal note.
Use affordable shipping like USPS or similar services in your country. Offer free shipping over a certain amount to encourage bigger orders. Track every package so you can update customers.
Keep a simple spreadsheet for costs, sales, and profit. This helps you see what is working and what is not.
Step 8: Legal and Money Basics
Check local rules for running a business from home. You may need a business license or tax ID. Open a separate bank account for your business money.
Track all expenses – printer, inks, shirts, packaging. Save receipts. In many places you must collect sales tax on online sales.
Start small so you don’t risk too much money. Many successful home businesses began with just a few hundred dollars.
Common Mistakes to Avoid
Don’t buy the cheapest printer without checking reviews. Poor quality leads to constant headaches. Also, don’t skip pretreatment – prints will crack and fade.
Avoid copying other people’s designs. Create original work to stay safe from legal issues. Don’t expect overnight success. It takes time to build customers.
Keep the printer running regularly, even if just test prints, so the heads don’t clog.
Growing Your Home Custom Clothing Business
Once you are comfortable, add more products like hoodies, sweatshirts, or tote bags. Consider offering DTG plus other methods later for more options.
Build an email list and keep in touch with past customers. Ask for reviews and referrals. Learn basic SEO so people find your store when they search for custom shirts.
Some home businesses grow enough to move to a small studio or hire help. Others stay small and happy as a side income. Both are fine.
If you want reliable DTG options or related equipment, many people check out DTF LINKO for helpful resources and machines.
Final Thoughts
Starting a custom clothing business at home with a DTG printer is realistic and exciting. You control your time, creativity, and profits. Focus on learning the machine, making great designs, and treating customers well.
Take it one step at a time. Begin with planning and a good printer, then practice until you feel confident. Many people now earn full-time income this way. You can too.